The Commercial Outdoor LED Buyer’s Guide
What Most Sellers Don’t Explain Before You Purchase
3/1/20263 min read
The Commercial Outdoor LED Buyer’s Guide
What Most Sellers Don’t Explain Before You Purchase
Buying a commercial outdoor LED display is a major investment. Yet most buyers are given very little information beyond size and price.
If you’re considering an outdoor LED sign for your property, church, school, retail center, or commercial location, this guide will walk you through the real factors that determine performance, longevity, and total cost of ownership.
Because a digital sign isn’t just a screen — it’s a structural, electrical, and operational system.
Step 1: Start With Viewing Distance — Not Size
Most buyers begin by asking:
“Do I need a 4×8?”
That’s the wrong first question.
The correct starting point is:
How far away will the average viewer be?
Pixel pitch determines clarity:
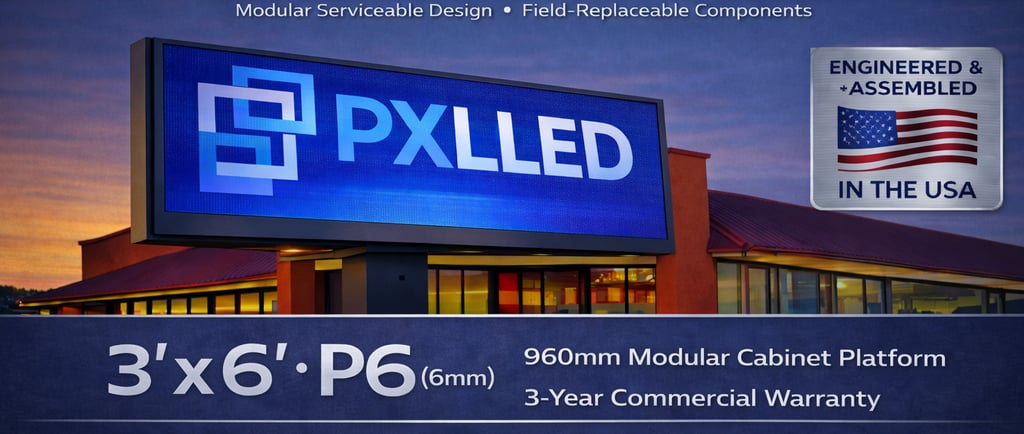
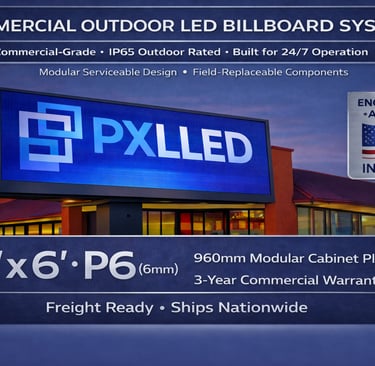
• P6 (6mm) – Best for closer viewing distances
• P8 (8mm) – Balanced clarity and distance
• P10 (10mm) – Ideal for roadside and higher-speed traffic
If vehicles are traveling 45–55 mph, P8 or P10 is typically appropriate.
If viewers are closer and more stationary, P6 may be preferred.
Choosing too fine of a pitch for long-distance viewing adds unnecessary cost.
Choosing too coarse of a pitch for close viewing reduces readability.
Match pitch to environment.
Step 2: Understand “4×8” Doesn’t Always Mean 4×8
This is one of the biggest areas of confusion in the LED industry.
Most commercial LED displays are built using modular cabinet systems. A common cabinet size is:
960mm × 960mm (approximately 37.8" × 37.8")
When multiple cabinets are assembled, the actual viewable area is based on those modular dimensions — not nominal lumber measurements.
For example:
A “4×8 class” display built from modular cabinets may have a viewable size closer to:
37.8" × 75.6"
or
75.6" × 113.4"
Many sellers add metal borders to make the overall frame measure 4′ × 8′ — but the illuminated area is smaller.
At PXLLED, we focus on true viewable dimensions, not framed marketing measurements.
Always confirm:
• Actual viewable width × height
• Cabinet configuration (how many wide × how many tall)
• Total illuminated surface area
Step 3: Cabinet Construction Matters More Than Most Realize
Outdoor LED systems operate in extreme environments.
Plastic housings retain heat.
Poor ventilation increases internal stress.
Improper materials raise fire risk.
Commercial-grade systems should feature:
• Die-cast aluminum cabinet construction
• Proper heat dissipation design
• Stable structural rigidity
• Reduced combustion risk
Thermal management directly affects lifespan.
Heat is the enemy of electronics.
Step 4: Service Access Determines Downtime
Eventually, every LED display requires maintenance.
The question is: how easy is it to service?
There are two common designs:
Front Service Access
Rear Service Access
Dual-Service Access (preferred for many installations)
If modules cannot be accessed easily, the entire board may need to be removed for simple repairs.
Look for:
• Front removable modules
• Clean internal wiring
• Minimal ribbon cable dependence
• Accessible power supplies
Downtime costs money — especially in commercial environments.
Step 5: Power Consumption & Operating Cost
Outdoor LED displays operate long hours.
Power efficiency matters.
Modern cabinet designs can reduce energy consumption significantly compared to older systems.
Ask about:
• Average power draw
• Maximum power draw
• Thermal load
• Operating temperature range
A system rated for:
-40°C to +80°C (-40°F to +176°F)
is built for serious outdoor conditions.
Step 6: Structural Considerations
An LED display is not just a screen — it is a structural load.
Consider:
• Wind load
• Cabinet weight
• Mounting method
• Existing pole or beam spacing
• Electrical availability
For example, a 960mm cabinet platform typically weighs around 25 kg per cabinet and measures approximately 92mm in depth — reducing wind resistance compared to bulkier systems.
Structural review before purchase prevents costly retrofits.
Step 7: Burn-In Testing & Quality Control
Not all LED systems are tested before shipping.
Some sellers drop-ship components directly from overseas suppliers.
A proper quality process includes:
• Multi-hour burn-in testing
• Brightness and color verification
• Power system validation
• Connectivity checks
• Module inspection
This reduces early failure risk.
Step 8: Red Flags When Buying an LED Display
Be cautious if:
• The seller cannot explain cabinet dimensions
• “4×8” is advertised without viewable specs
• No testing process is described
• No service strategy is discussed
• The warranty sounds vague
• There is no structural or power consultation
A commercial LED system should be treated like infrastructure — not a consumer TV.
Step 9: Think Beyond Messaging — Consider Revenue Potential
For many property owners, an outdoor LED display is not just signage.
It can become:
• Tenant advertising space
• Event promotion real estate
• Third-party advertising revenue
• Community messaging platform
The right configuration can offset the investment over time.
Final Thoughts
A commercial outdoor LED display is a long-term asset.
Choose based on:
• Environment
• Viewing distance
• Structural compatibility
• Serviceability
• Efficiency
• True viewable size
• Quality control process
Not just price.
If you would like help evaluating your site, structure, or traffic conditions:
Schedule a commercial LED consultation.
PXLLED
844-479-5533
PXLLED.com
Engineered. Assembled. Tested.
Contact us
info@pxlled.com
For Nationwide Sales & Support
1 (844) 4PXLLED
1 (844) 479-5533
Headquarters / Operations
Russellville, AR 72802
© Copyright 2023 Pxlled . All rights reserved. Created and Managed by Pxlled
PXLLED provides scalable LED display solutions built for reliability, performance, and long-term growth.